Easy buttons
Introduction
Permissions to use buttons
Creating a button
Example
Order of buttons
Deprecation
This feature is reaching end of life, and its functionality is fully succeeded and exceeded by Automations. Seamless in-app migration is available from version 15. Please read the article to find out how much further you can automate your daily work.
Introduction
Easy Buttons are a simple yet powerful feature that streamline task updates with just a click. Whether you’re managing a project, handling support tickets,
or overseeing workflow processes,Easy Buttons offer a fast and intuitive way to perform task updates without the hassle of manual input.
Easy to set up and even easier to use, these buttons enable you to automate common actions, such as changing task status, assigning team members at once.
In this guide, we’ll walk you through how to set up Easy Buttons, demonstrate their practical use, and explore how they can help save time and boost productivity in your daily operations.
IMPORTANT NOTE: Easy buttons bypass workflows and validations.
If a forbidden permission is configured, users with that permission will still be able to use the button.
Ensure the buttons are enabled in alignment with the worker's workflow.
For example, if an easy button adds a task to a sprint, it will add the task even if the sprint is unavailable for the project to which the task belongs.
Permissions to use buttons
To use easy buttons, you must have the appropriate permissions or be an administrator, who automatically receives these permissions. Permissions can be configured under Roles and Permissions for individual user roles.
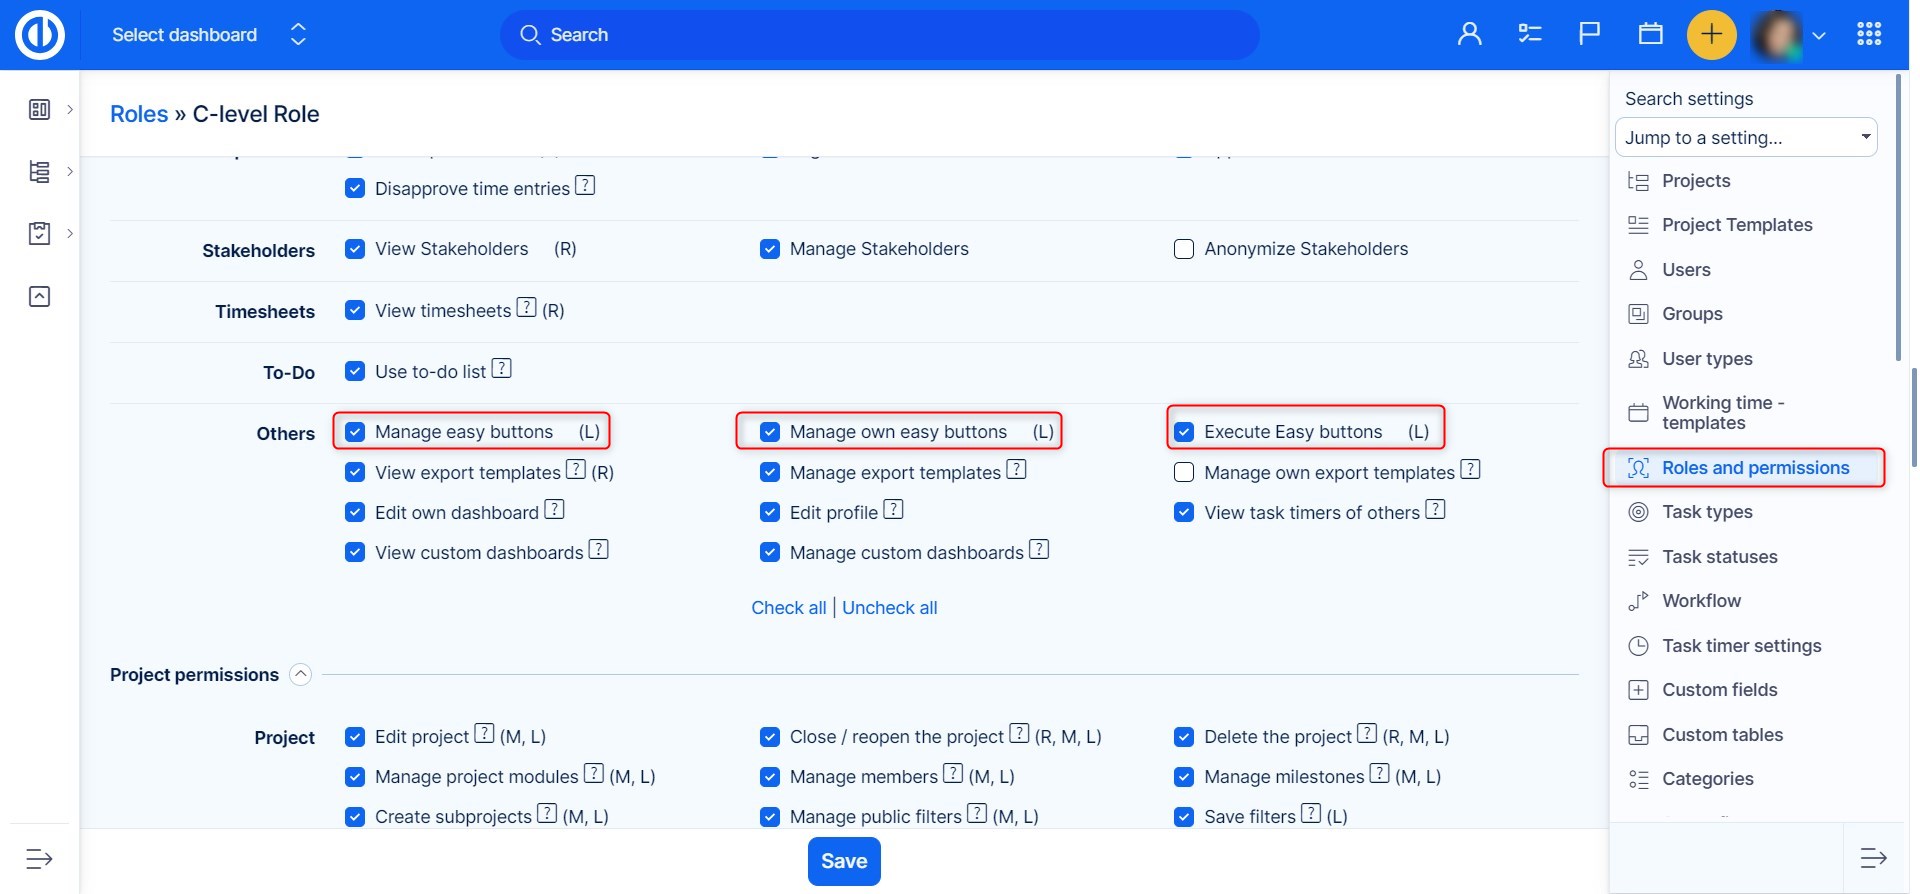
Manage easy buttons allows you to create and edit them, while Execute easy buttons means you can click and use them.
If you have the permission, you can find them in Global menu >> Easy buttons.
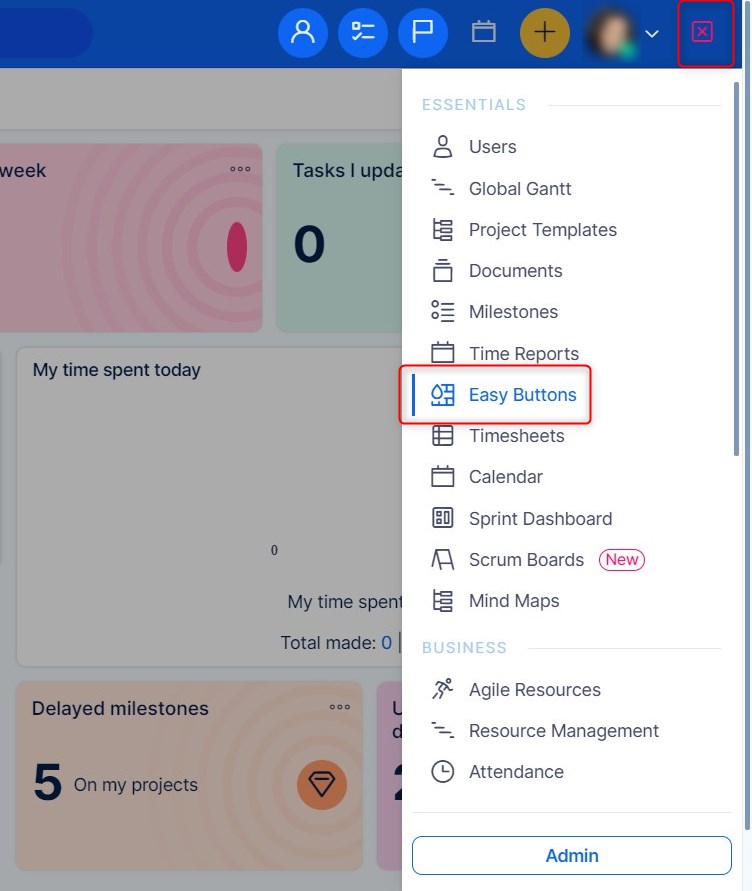
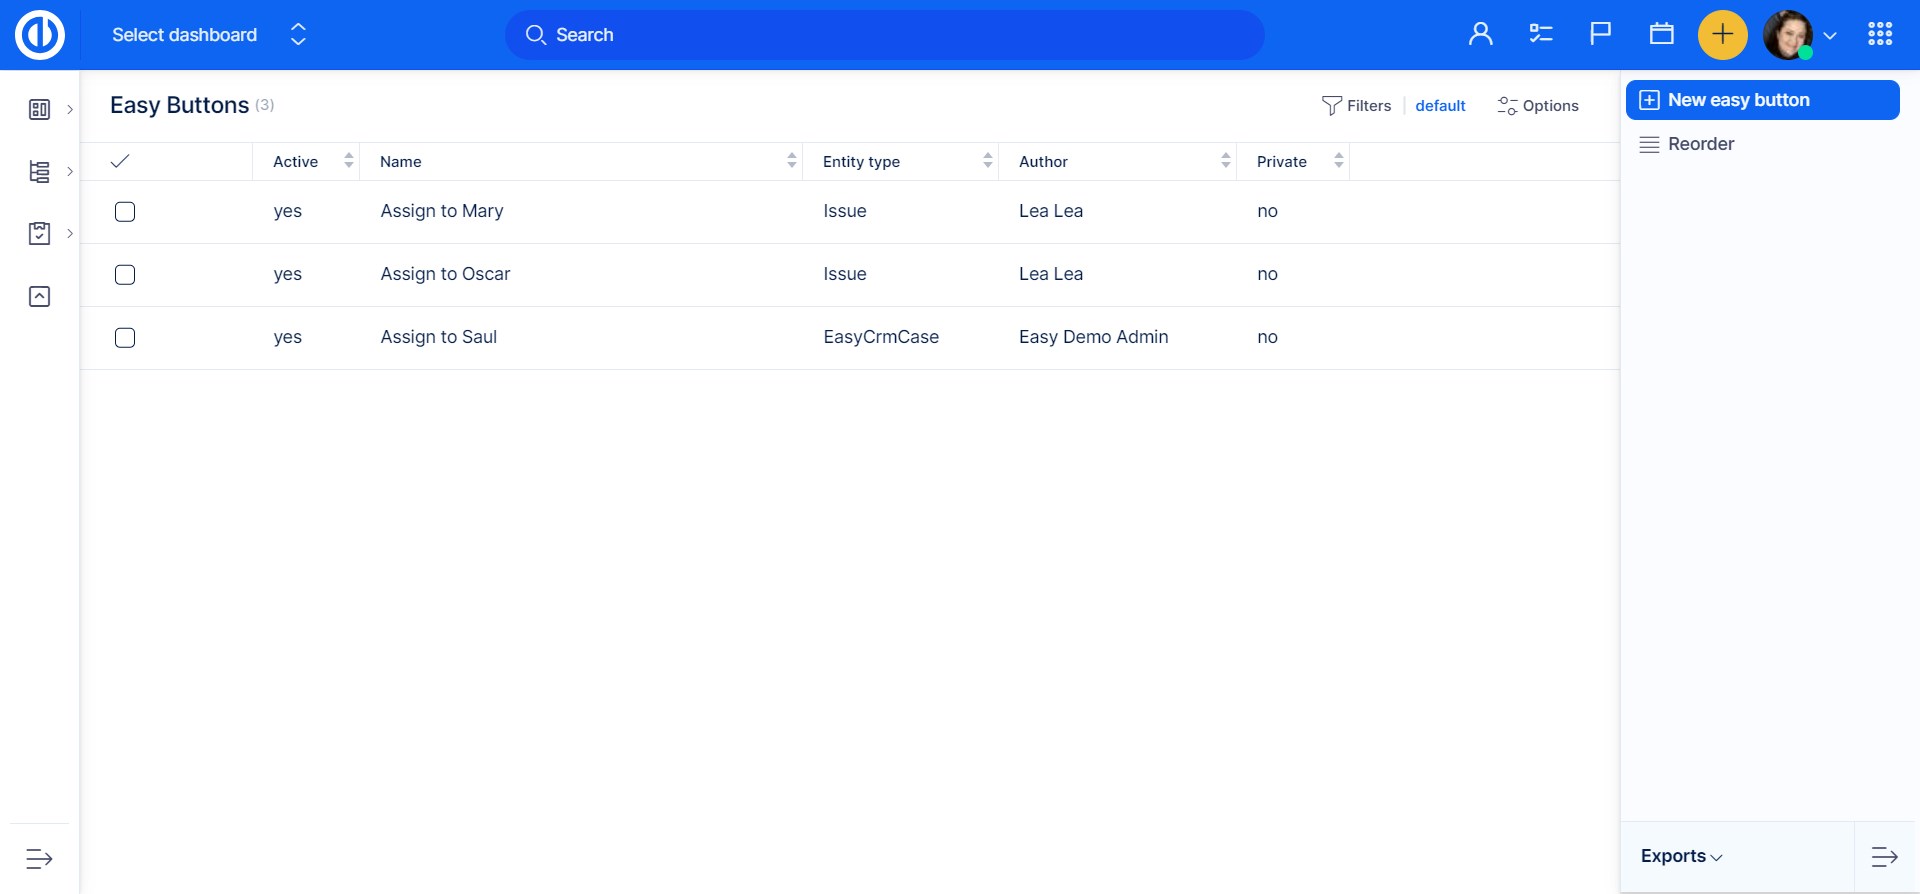
Clicking on it will take you to a page where all the buttons are listed. To create a new button, click the button in the upper-right corner
Creating a button
Button creation allows you to design customized actions by selecting entity types, choosing colors, and defining filters for where the button will appear.
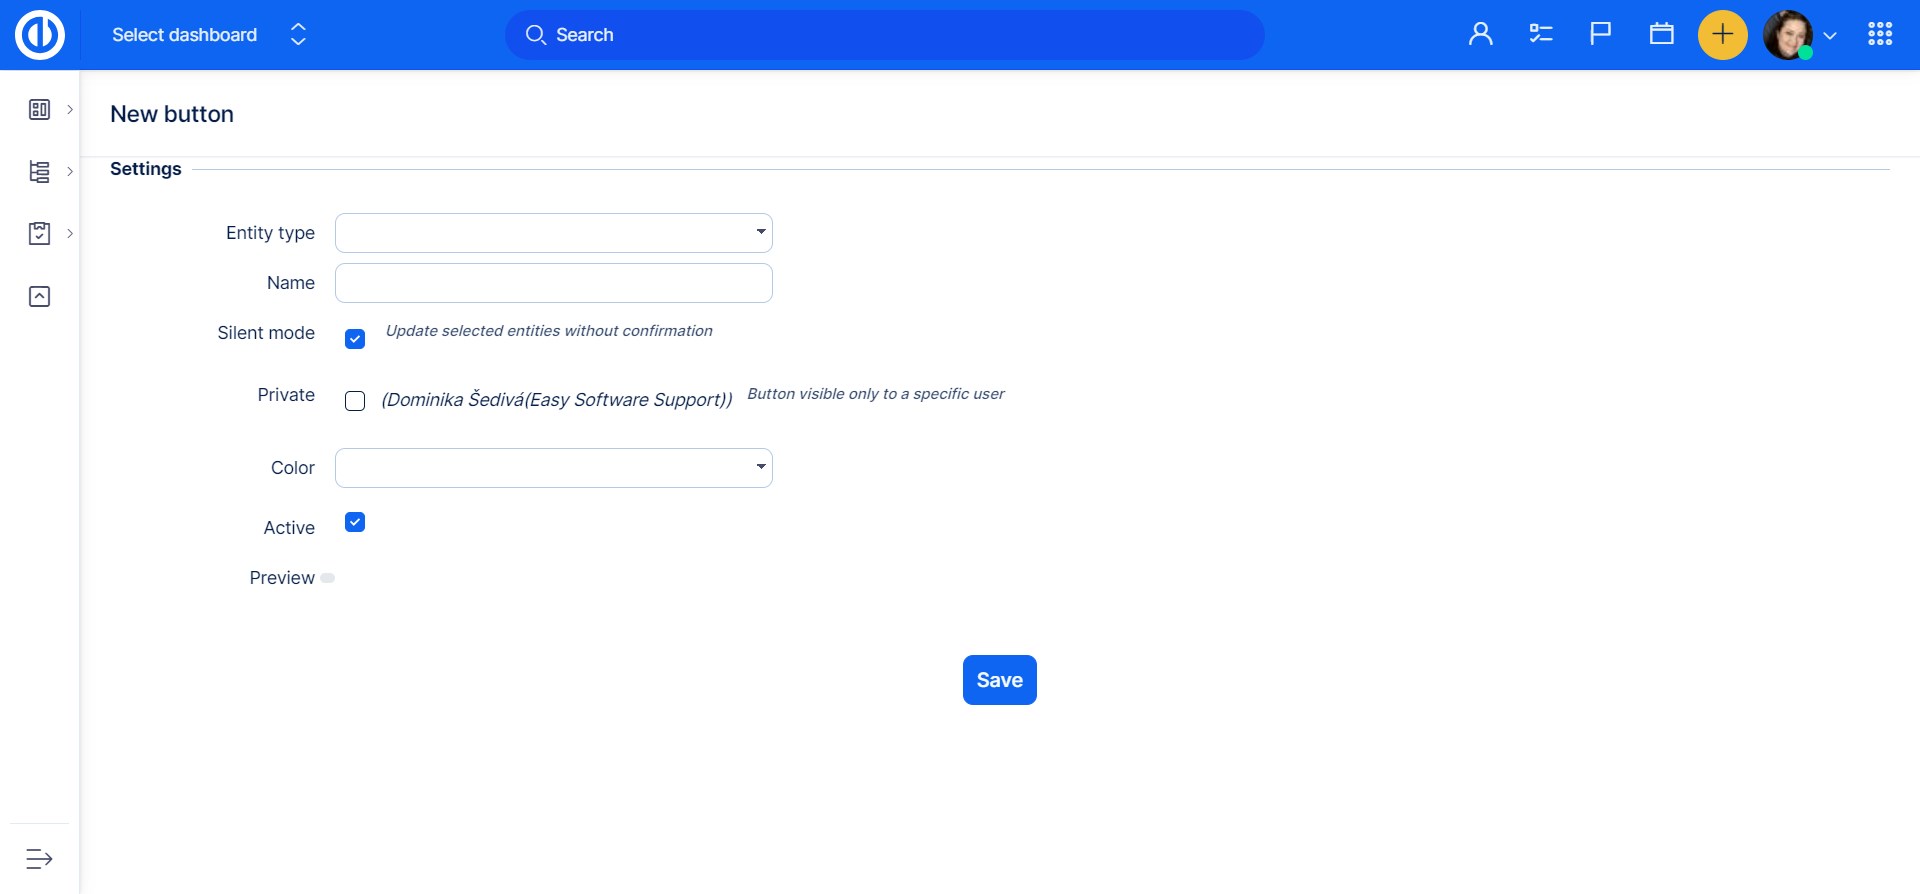
- Select the Entity Type - Choose the appropriate entity type for your button. You can select either a Task or an Opportunity, depending on the context where you want the button to be used.

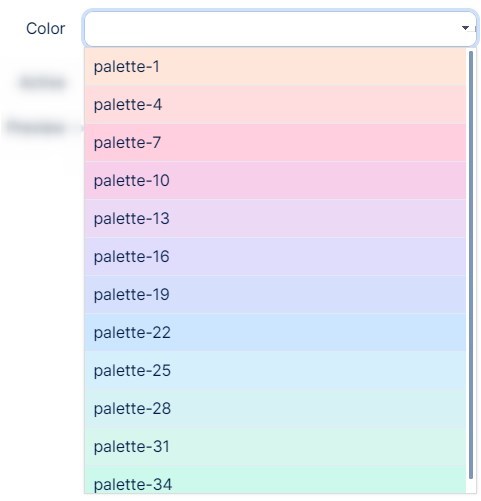
- Choose the Button Color - Pick a color for the button. This will help differentiate it visually from other buttons and make it easier to identify.
- Define the Filters - Set up filters to specify where the button will appear. You can define certain conditions or contexts to ensure the button is displayed only in the relevant areas.
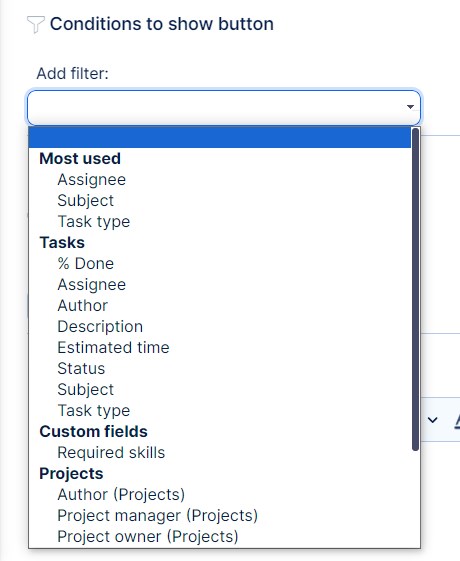
- Easy Buttons support only the following Opportunity/task custom fields to be added as a filter:
- Amount
- Autoincrement
- Boolean
- Choose country
- Float
- Integer
- Link
- List
- Lookup
- Text
- All listed custom fields must be marked as 'Used as a filter' in order to be available for inclusion in Easy Buttons (see below).

- Add Action - Define the action the button will perform. This step determines what exactly the button will do when clicked, such as triggering a task update or another predefined operation.
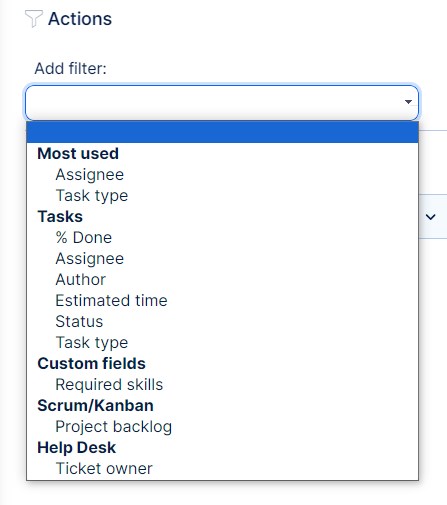
Example: Setting Up a Button for Changing Assignees
- Button Appearance Based on Status
"I want this button to appear for every issue where the status is 'New'."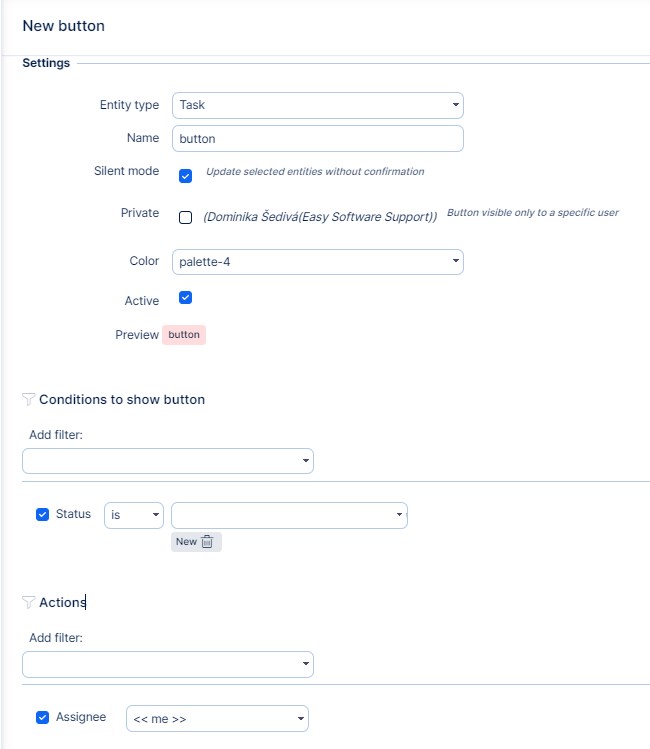
- Button Action: Change Assignee to Me
"I want the button to change the Assignee to 'Me' when I click on it. This is how it looks once set."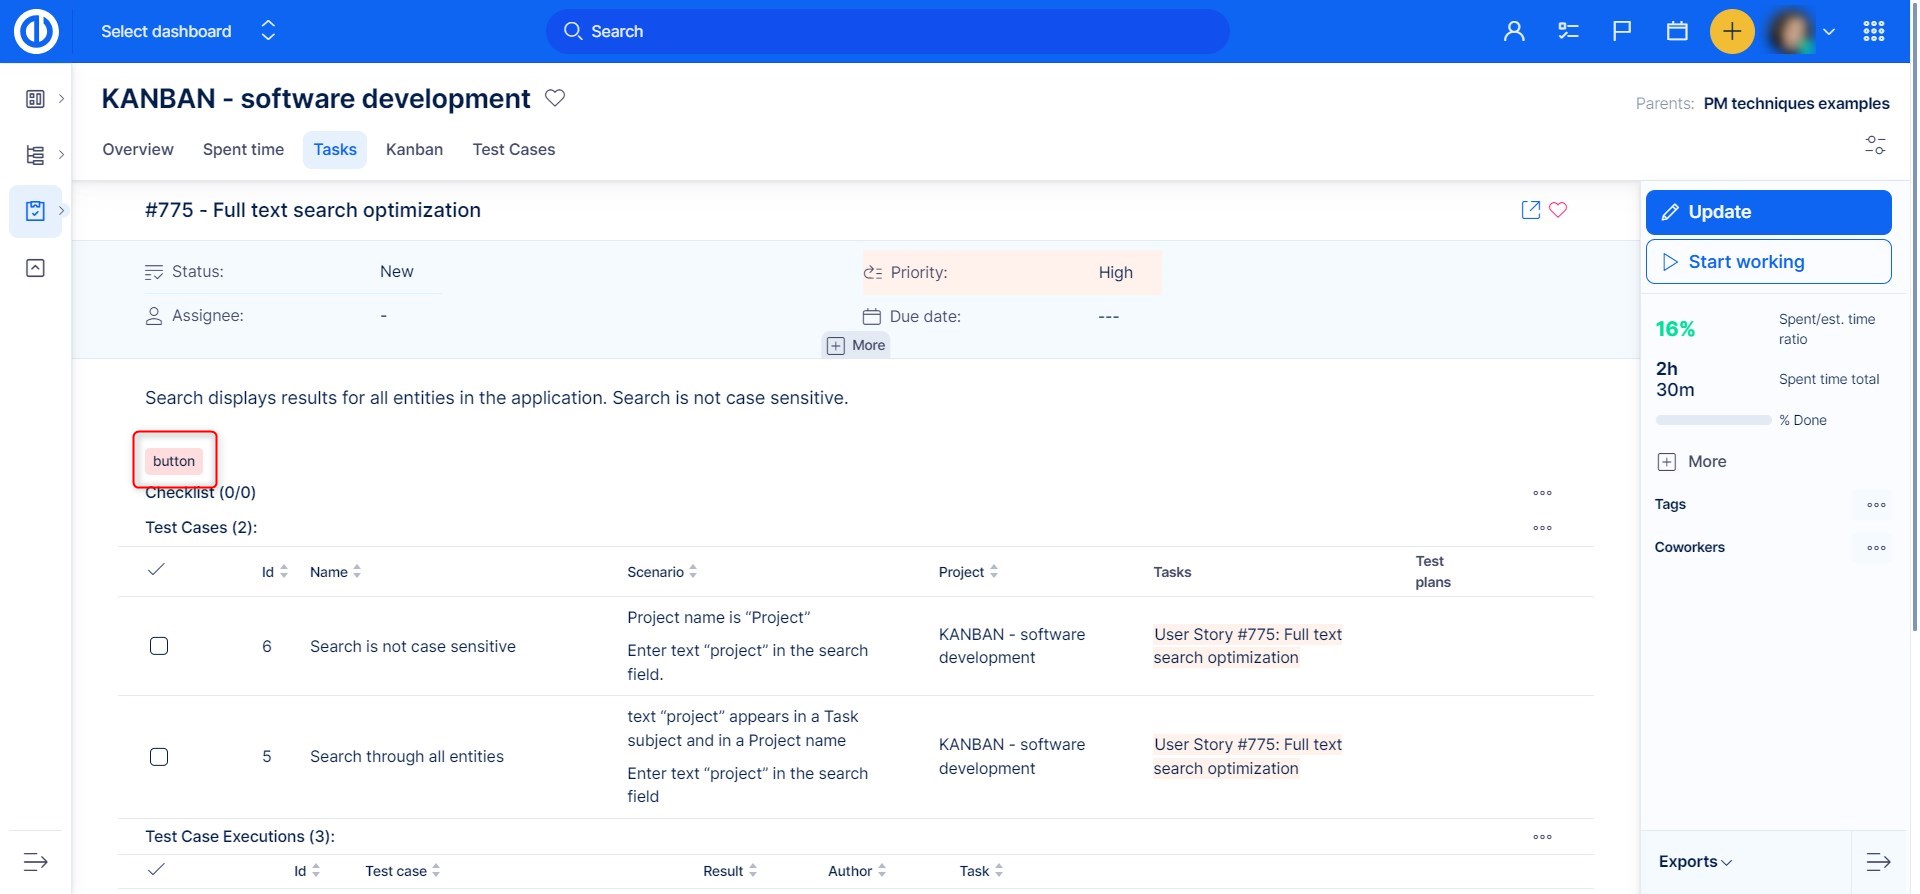
- Silent Mode vs. Non-Silent Mode
"Now, there are two ways this can go: - If you didn't choose silent mode, clicking the button will take you to a task edit page. Everything will be pre-filled according to your button settings, and you can edit a few more fields.
- If you chose silent mode, the button will immediately apply all the changes based on your settings, without any further interaction.
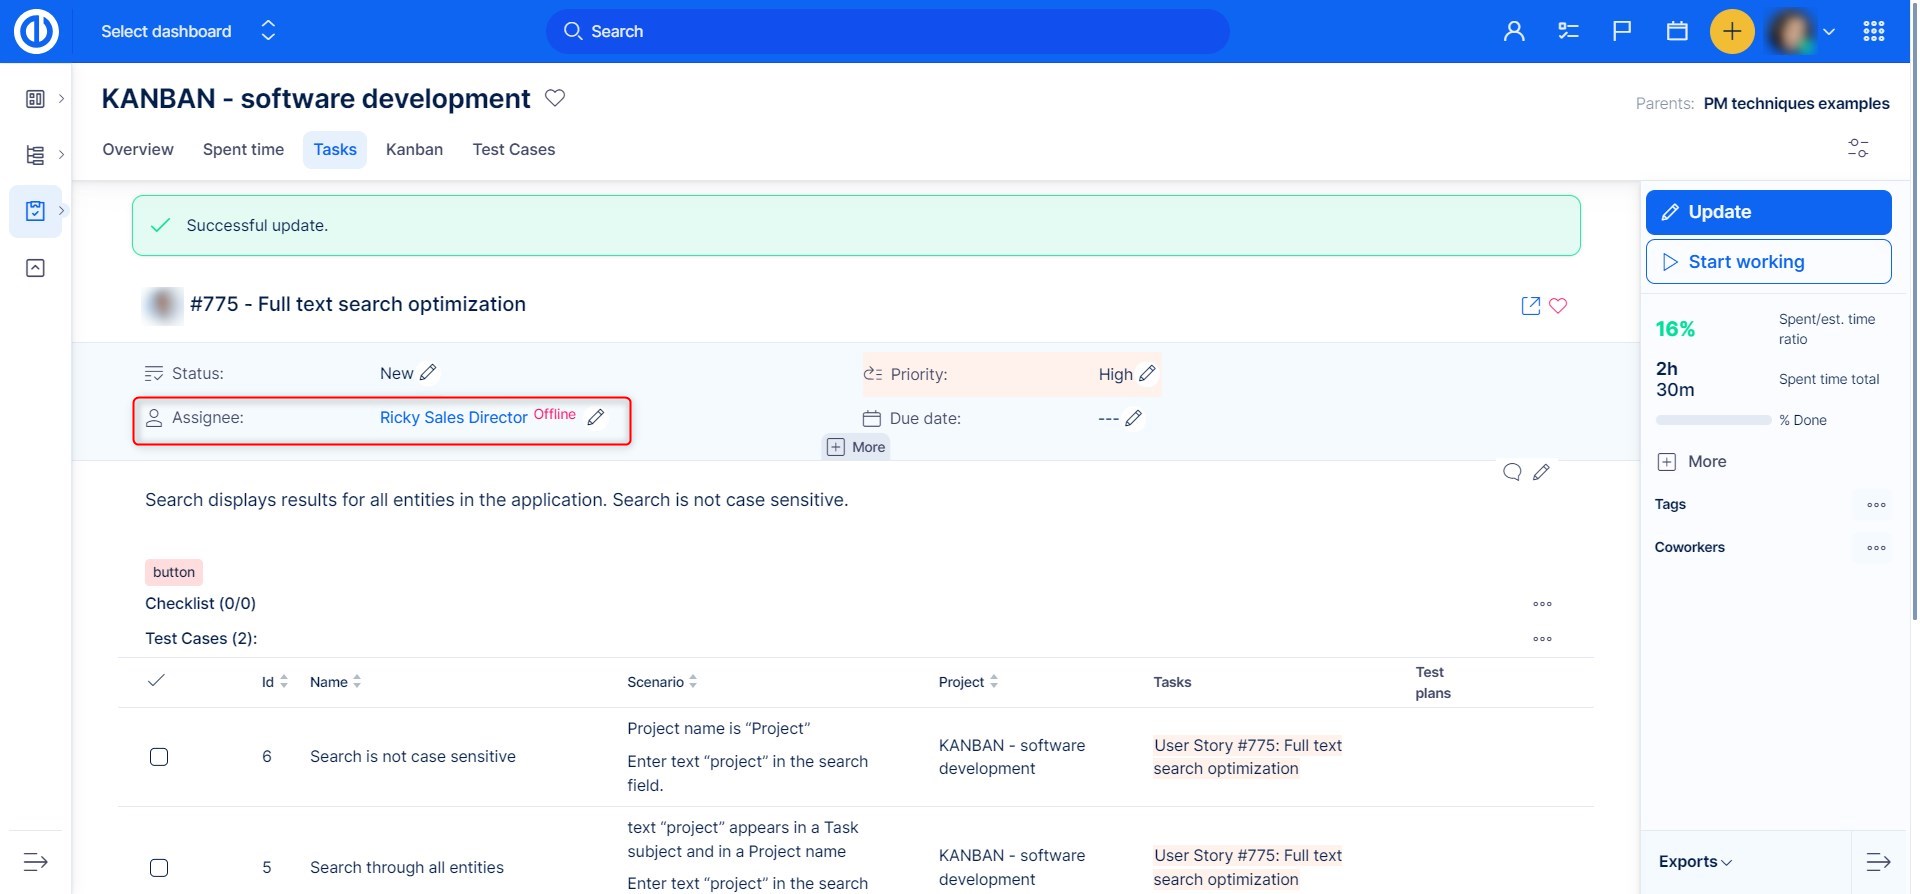
Order of buttons
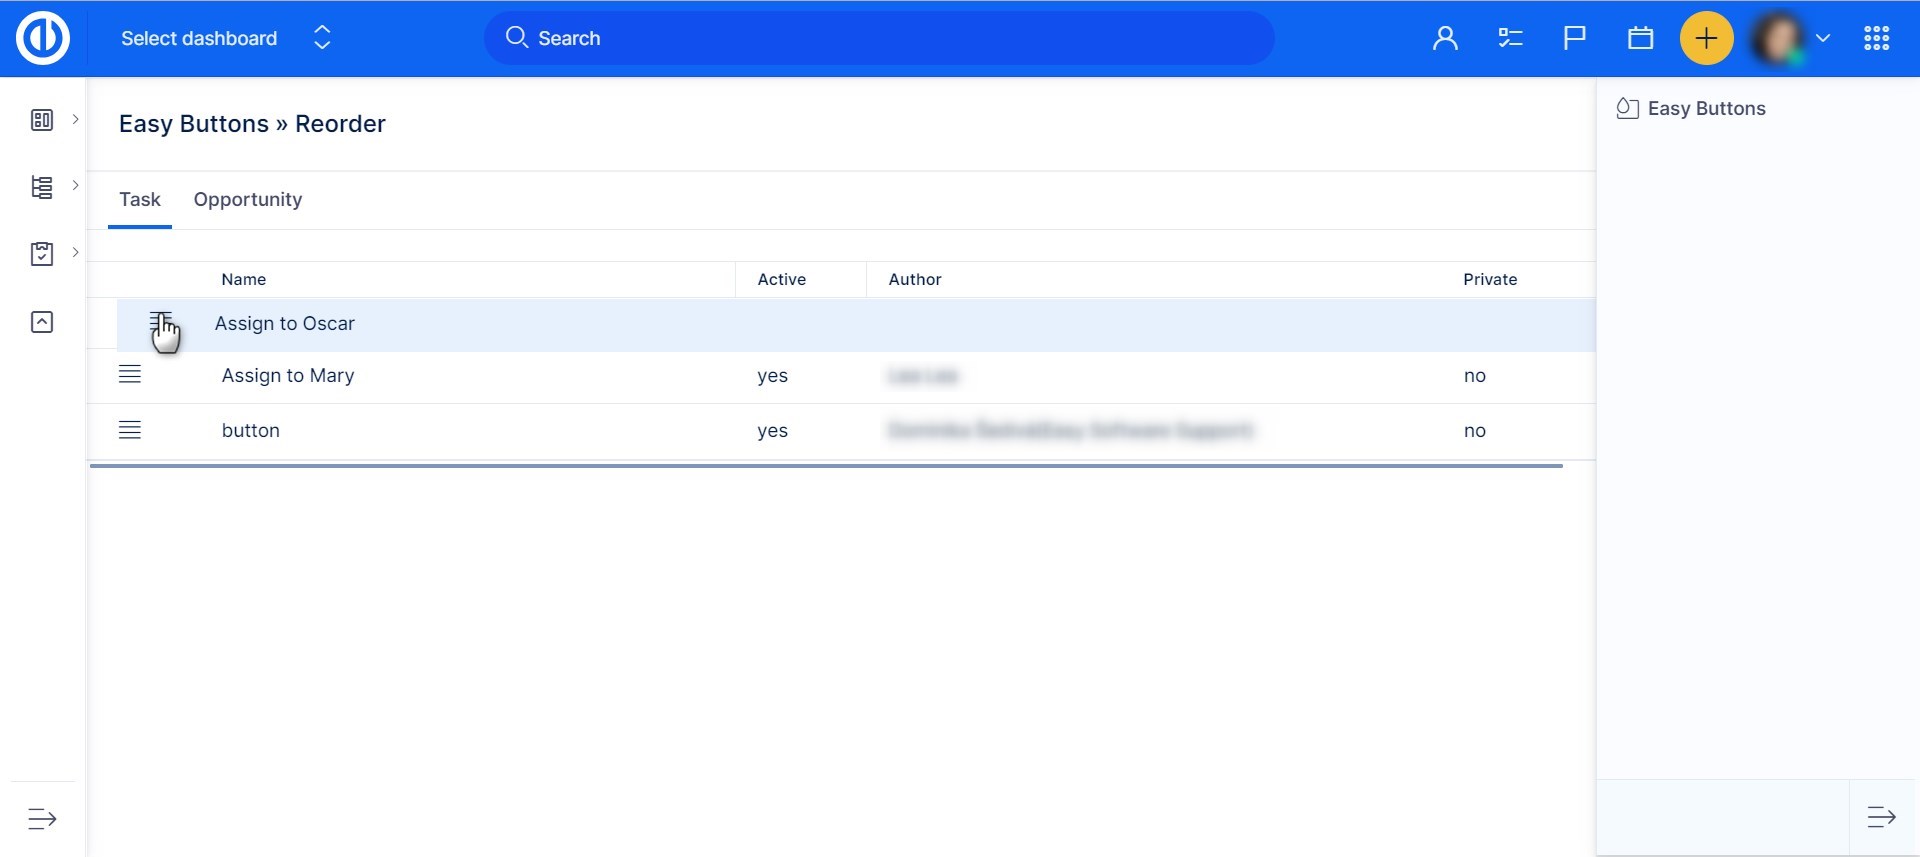
In Administration >> Easy Buttons, you'll find not only a list of existing buttons and an option to create a new one, but also the Reorder option.
If you have multiple buttons on a single task, you can arrange their display order here.
The button at the top of the list will appear first, followed by the others in the order listed.
